April Tip: Adhere Painting . . .
TIP OF THE MONTH
Wozers! April! Cherry blossom time! Over here in Amsterdam, we have the Cherry blossom park which is in amazingly full bloom for some weeks a year. It’s so rewarding to catch the right timing and be able to play among the trees.
. . .and then back to the studio!
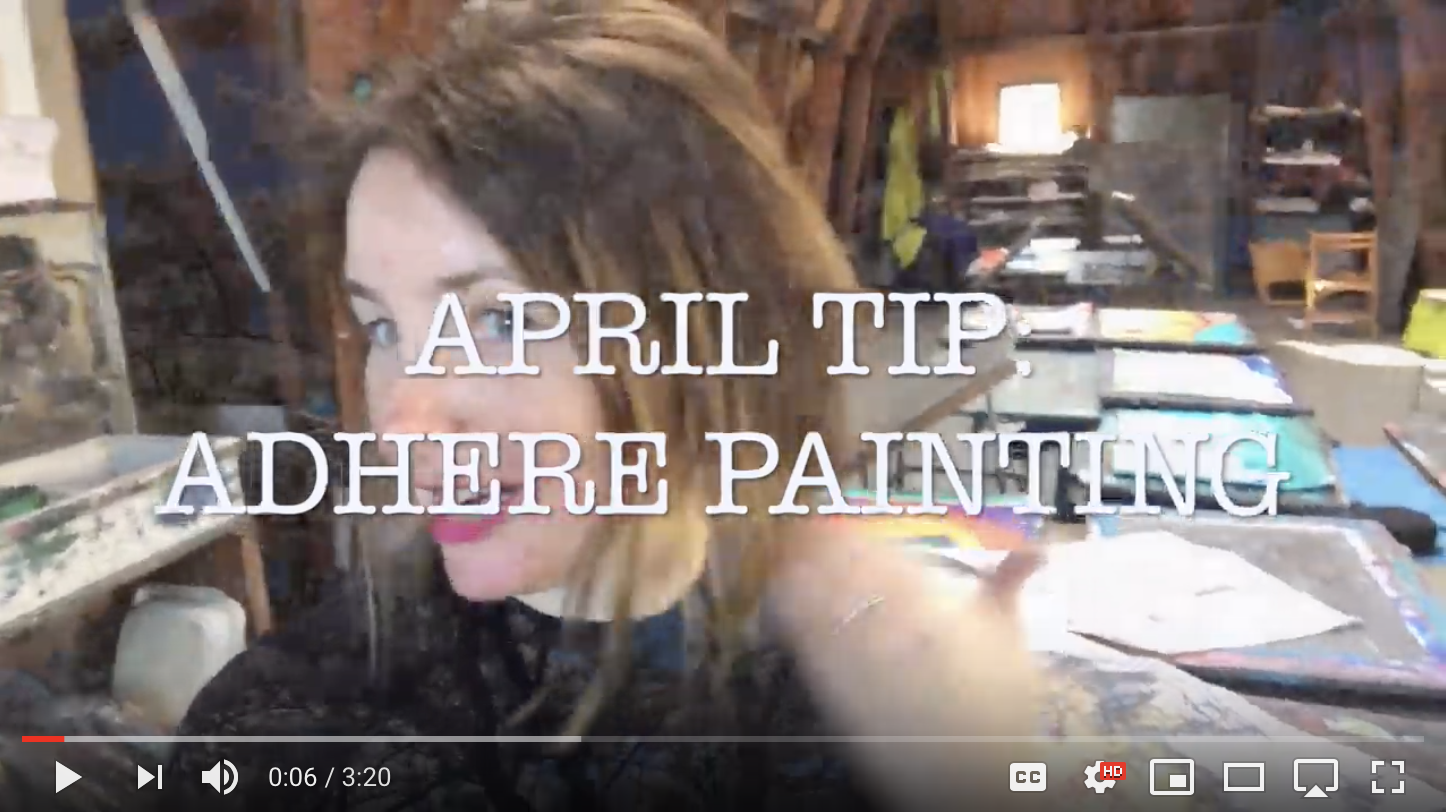
So, I was recently asked during the monthly club about how to prepare these paintings for durability and easy to hang options. So I have created a brief overview of options. Note: I like to keep these videos short, less than 3 minutes. So if you feel that after watching this video to see a longer step by step explanation, please type in ‘attach paper painting to canvas’ on your search engine browser.
Here are the basics. There are dry and wet adhesives. I like to use acrylic medium as a wet adhesive. Note: Spray adhesives work well too, just make sure that you spray enough to both sides, for the rest they work the same way as the medium. The important thing here is to use this medium with a wide brush on both the back of the paper and the canvas (or thin sheet of wood). Because both paper and canvas will soak up some of the adhesive. On that note, it’s best to buy a primed canvas, or you can prime it yourself with gesso. A primed canvas will soak up less glue.
After you have added the glue, you can lay down the pre sized paper down. Then you can rub the paper on the canvas from inside to outside. The intention here is to lead any air bubbles to be released by the edge. Extra glue will also squeeze out on the sides. This can simply be wiped off.
Then flip the paper/ canvas so that the painting is resting on a clean smooth surface. You can rub more from inside to outside. Again to make sure all air bubbles are out. Then books and other flat, but heavy objects can help keep it flat while the glue dries.
When I use a thin paper, like the charcoal papers in the studio, I like to use moratac. This is a double sided sheet adhesive. This irons out all the wrinkles and allows me to adhere the piece to any material. I prefer think wood boards for these, but can also be used on a primed canvas.
Since these pieces will most likely not be protected under glass, at least I prefer them not to be, it is good to put a layer of varnish over your pieces. This will protect the pieces and also even out the shine over the whole piece. It also has a benefit to give the piece a completed feeling. Physically it can also fill in minor holes in the paint, which will make the colors look richter. I like a matt. . .or semi gloss varnish. You can purchase an acrylic varnish, or use the medium (watered down a bit) as a varnish. The main difference between using a medium versus a varnish over the final layer is that the varnish has a bit more clarity to it (especially visible in the darker colors).
The next monthly intuitive painting club night at Atelier Molenpad is on Tuesday, April 16th and then May 7th. If you have been thinking about joining, but postponing. . .stop postponing! It is not sure how long this monthly course will be offered. Don’t miss your chance!
Ready for a unique Team Development Event? Contact me. Want to work 1:1? Contact me.
Curious about what could be expected about working with me in a private coaching session? You see, I combine Art Therapy (I’m an Art Therapist) and Coaching (and a certified Coach) with clients on a range of personal development topics in order to inspire the YOU to accelerate to new levels at work and personal life. I use art as an initial diagnostic tool to get an accurate picture of what is happening in the here and now. The core topic for getting unstuck are quickly revealed using this process. I follow up with coaching to meet goals through my fine tuned verbal coaching skills.
x Daniella
Do give the tip of this month a go. Feel free to contact me to explore your next chapter together, regardless of location. Skype, Whattsap Video, Zoom and Facetime at our fingertips, locations know no boundaries!
So there has been much news about Privacy Policies, and so yes, our privacy is located on my site.
——-
OUR TIP THIS MONTH:
The tip this month is to adhere your painting on wood or canvas.
- Choose which painting you would like to hang up
- Decide what to mount it on, wood or canvas.
- Decide on the adhesive. . .wet . . . dry.
- Adhere your painting onto the canvas/ wood (instructions above)
- Varnish the front of your painting if not done so already.
- Finish the edges of your canvas to match/ clash with painting.
- See how else you would like to embellish your piece. . .create/ buy a frame for it? I would recommend an open frame used for canvases.
- Hang up your piece!
- Like to share? Post your drawings and findings on https://www.facebook.com/ateliermolenpad1/ . . .or Contact me for more assistance on this topic.
1) New dates for the SMART Intuitive Painting Club:
Autumn | Winter 2018-2019. Last one is April 16!
Spring | Summer 2019. Dates are: May 7, June 4, July 16, August 20.
Autumn | Winter | Spring 2019-2020. Dates are: (2019) Sept 24, Oct 29, Nov 19 (2020) Feb 11, March 17, April 7.
We meet in person, on a Tuesday evening 6:30pm- 9:30pm, Amsterdam. Sign up now by sending me a mail. Newcomers to the studio are able to attend one class as a one time single workshop (as long as space permits). http://www.ateliermolenpad.com/intuitive-painting-plus/
2) SMART week retreats in Amsterdam: The week retreat in Amsterdam will be on 8-12 July 2019. http://www.ateliermolenpad.com/painting-retreat-week-amsterdam/
3) Perspectives (formally known as La Vie En Rose): Come and visit this installation in Amsterdam! The address, for your navigator is Anton Schleperspad, Amsterdam. From Amsterdam its a 20 minute bus ride with bus 397 on way to Schiphol. Super easy and gorgeous 1 minute walk from bus stop.


